Monday, July 23, 2012

in this tutorial we will explain how to create cosmic light effect using several stock photos, custom brushes, masks, and a bit of digital painting. Let’s get started!
Mario Sanchez Nevado
Tutorial Assets
The following assets were used during the production of this tutorial.
- Model
- Fire
- Fire2
- Nebula1
- Nebula2
- Nebula3
- Nebula4
- Sparks
- Sparks2
- Sparks3
- Long exposure
- Explosion
- Bokeh
- Bokeh2
- Lens flare
- Motion blur
- Stars
- Pattern
- Texture
Step 1
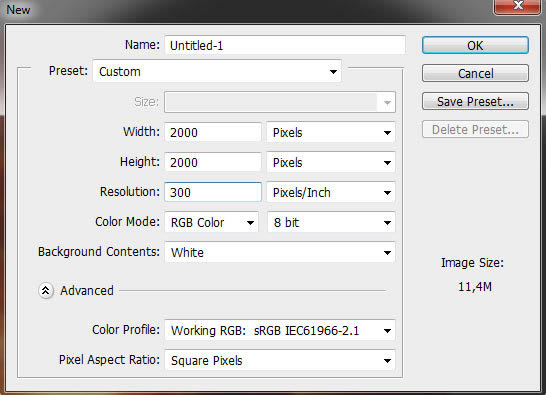
First of all, let’s create our file. We will work in a 1×1 aspect ratio document of 2.000 pixels per size, at 300 dpi in RGB color.
Step 2
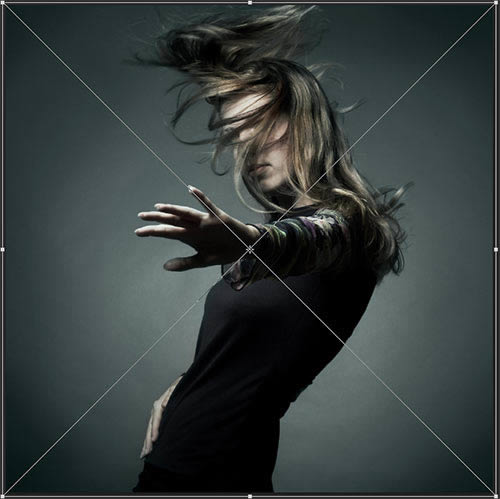
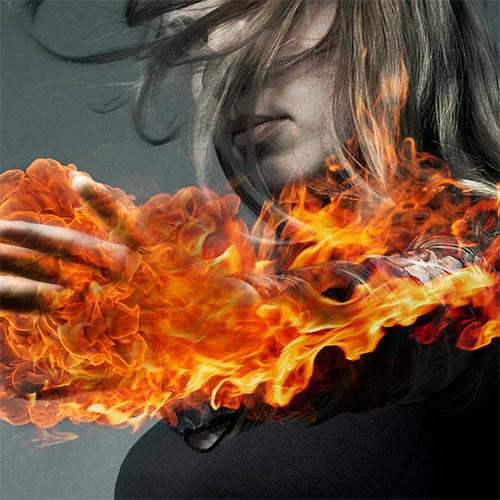
Grab the model stock photo and place it into the canvas. It should fit perfectly. Name this layer "model".
Step 3
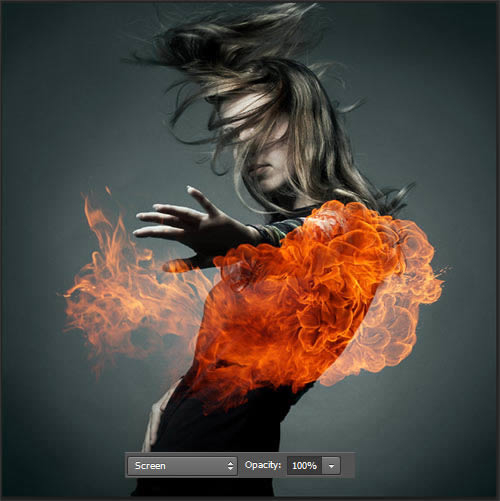
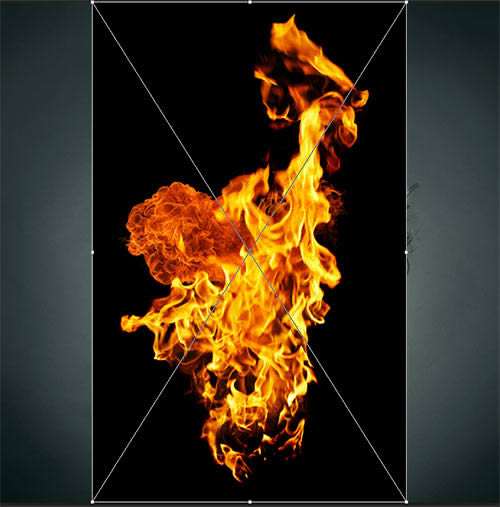
Drag the fireballs stock pic to the canvas.
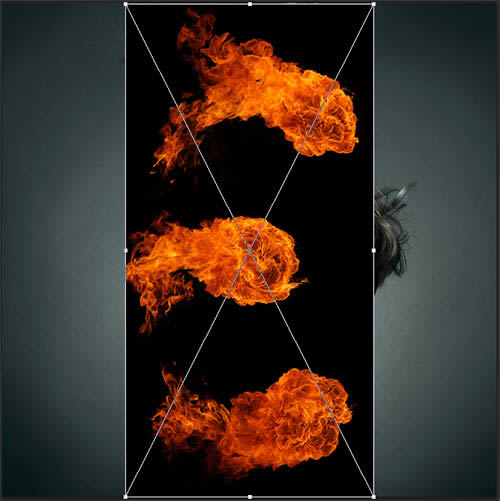
Increase its size so the bottom fireball has this size. Hold Shift key to keep the aspect ratio. When you are done press Enter.

Use the Rectangular Marquee Tool (M) to select the bottom fireball. Press Command/Ctrl + C and Command/Ctrl + V to Copy and Paste it in a new layer. Name it "fire1" and delete the original fireballs layer.
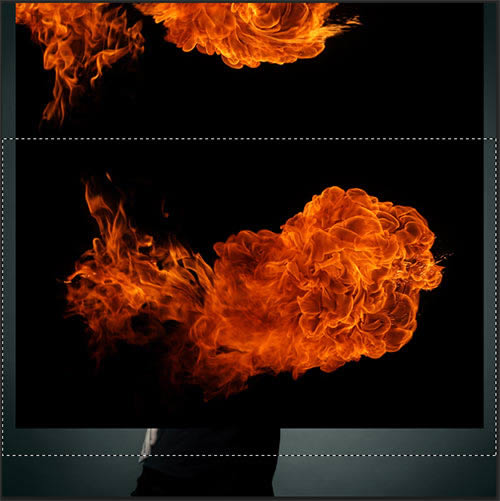
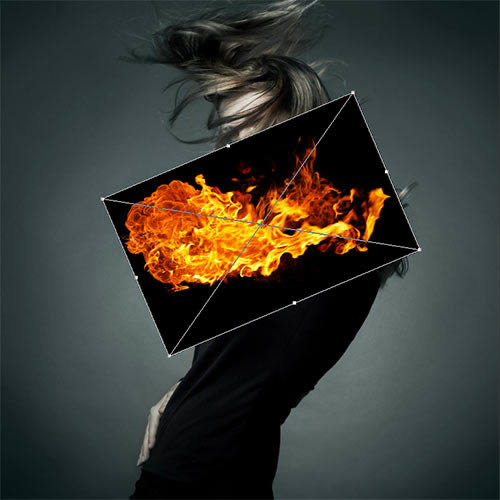
Set the Blending Mode of this layer to Screen. This will make the dark tones disappear. We will we using this Blending Mode in many items of this tutorial since we will work on lighting effects mostly.
Go to Edit > Free Transform or press Command/Ctrl + T. Right – click and select Flip Horizontal.
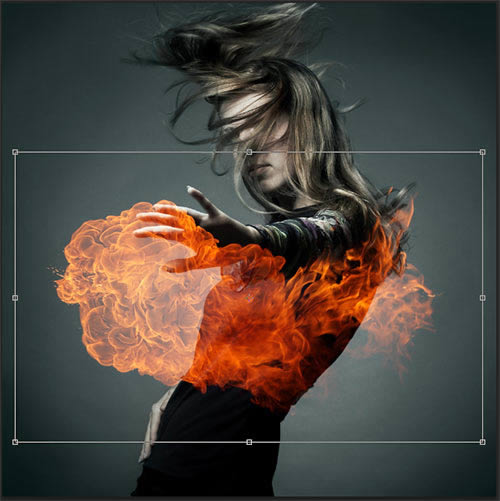
Make the fireball smaller (remember to hold Shift to keep the aspect ratio) and rotate it a bit to the left to make it fit with the model’s hand pose.
Step 4
Create a new layer under "fire1" and name it "black fire" by going to Layer > New > Layer or by pressing Command/Ctrl + Shift + N.
Now use the Brush Tool (B) (0% Hardness) and pick the black color to paint on the fire areas outside her arm.
Paint also on the hand’s fire area. This way the fire will look more integrated.
Step 5
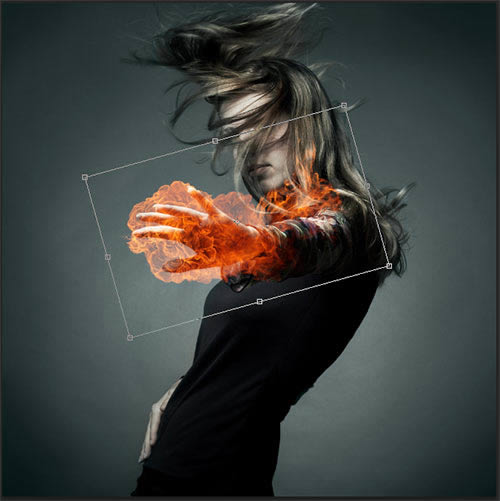
Add the second fire image to the canvas.
Decrease it size and right – click to select Flip Vertical. Rotate the layer to the left to make it fit, again, to the girl’s arm. Press Enter and name the layer "fire2".
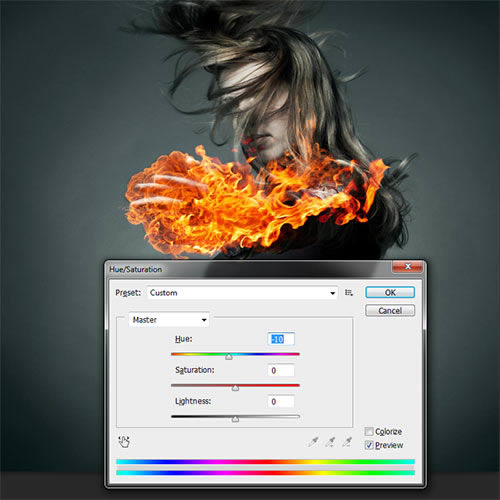
Set the Blending Mode to Screen and go to Image > Adjustments > Hue Saturation (or press Command/Ctrl + U) and move a bit to the left the Hue bar so we can put a red tone on the fire.
Step 6
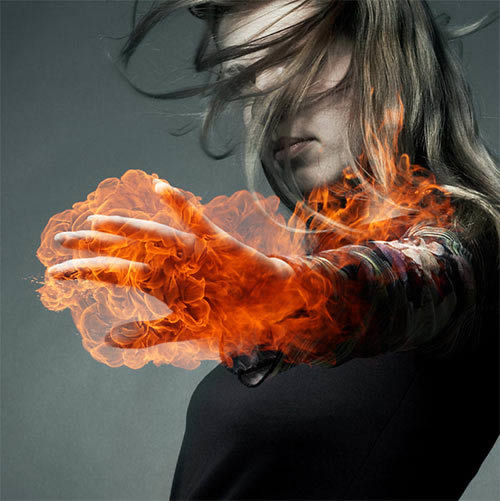
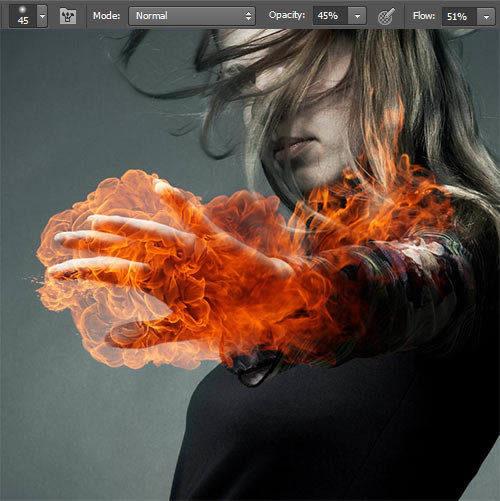
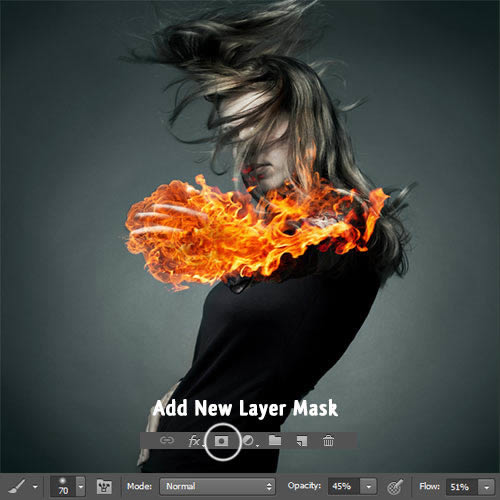
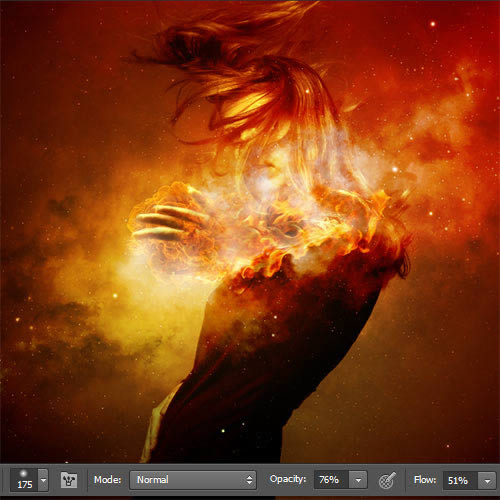
Add a New Layer Mask by clicking on the third icon at the bottom of the layer’s palette. We are going to use it to delete and blend some areas of the fire. Now pick the Brush Tool (B) and the black color (always 0% Hardness) and start painting at the very left area of the fire to make it disappear. If you commit any errors you can switch to white color to restore what you deleted. Also, I highly encourage a pen tablet for this or any other painting steps on this tutorial to get more accurate results!
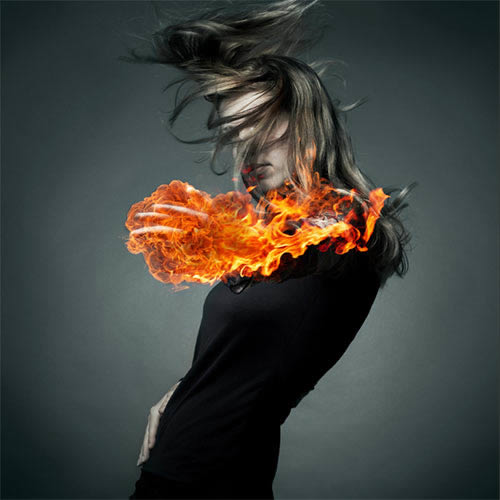
Keep on deleting the right areas over the hand and the upper area of the fire on the right, as well.
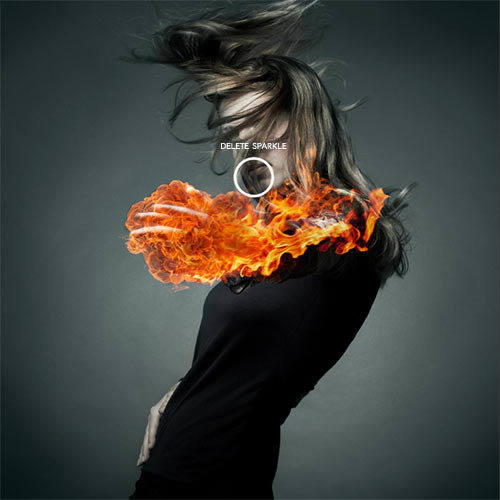
Delete also the tiny sparkles that come from the fire, so they don’t disturb over the girl’s face.
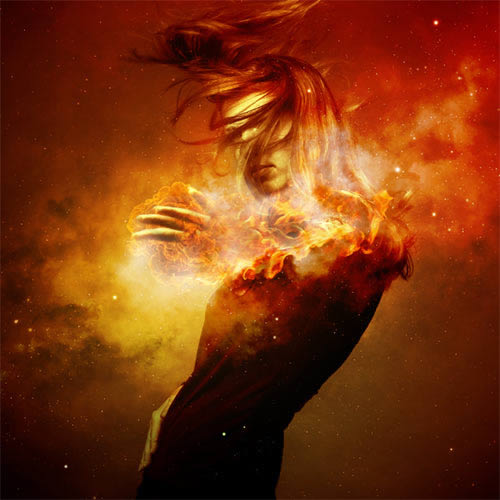
Return to layer "fire1". Have you noticed? The girl’s hand is right now is very hard to perceive, so we are going to decrease our Brush size (you can do so by pressing "," key) to paint in the mask over the fingers, specially on their darker bottom areas.

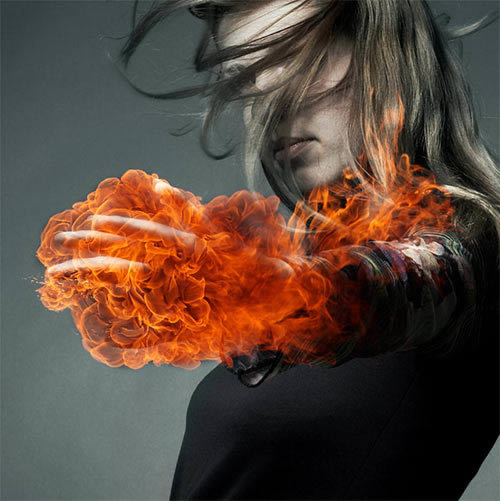
Do the same on the "fire2" layer.

Delete some areas of the fire over the arm so it becomes more visible.
Step 7
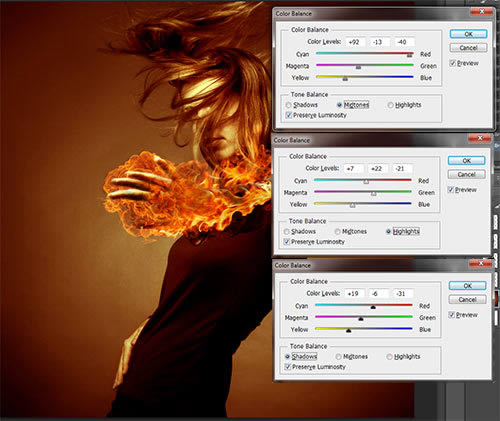
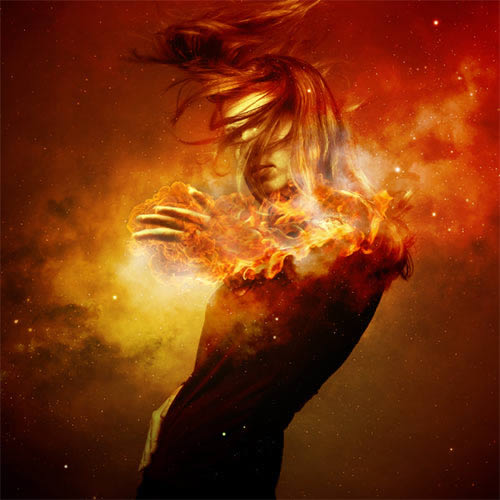
Go to "model" layer and go to Image > Adjustments > Color Balance (Command/Ctrl + B) to adjust the color of the image. Use the following settings to warm up the entire scene.
Step 8
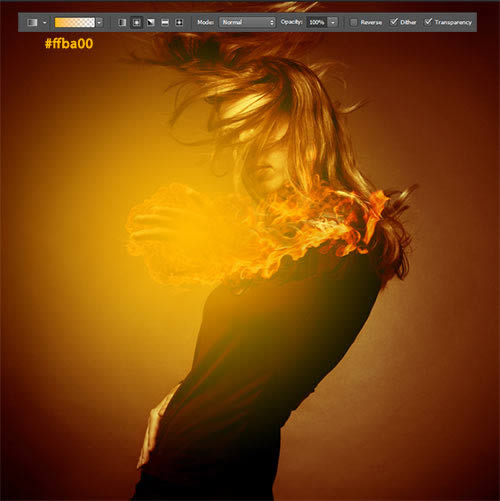
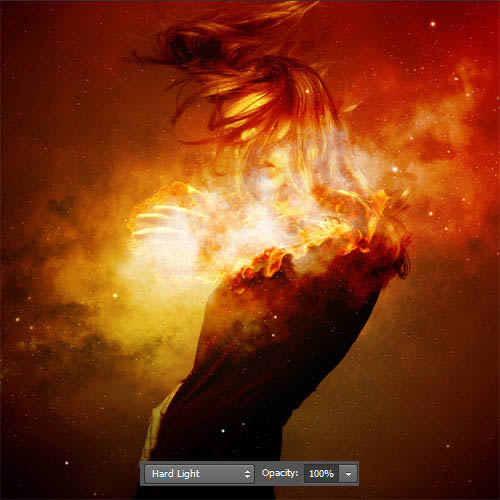
Create a new layer above them all (Command/Ctrl + Shift + N) and name it "orange gradient". Select the Gradient Tool (G) and click on the gradient horizontal icon on the tool options tab to display a new window in which you’ll select Foreground to Transparent. Now pick the color #ffba00, click on the center of the hand and drag the line until the right left corner, then release your mouse.
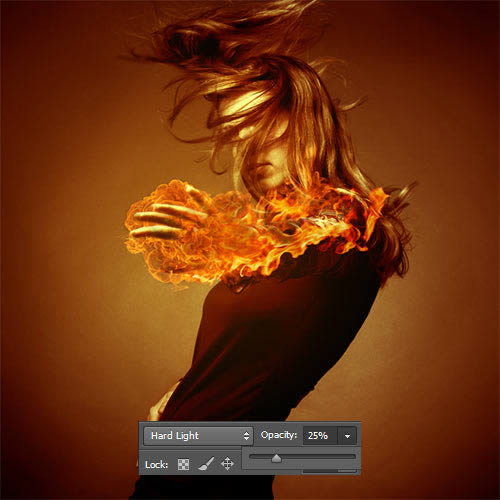
Set the Blending Mode to Hard Light and decrease Opacity to 25%.
Step 9
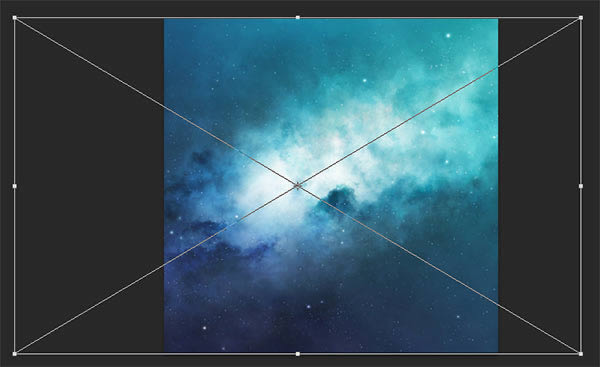
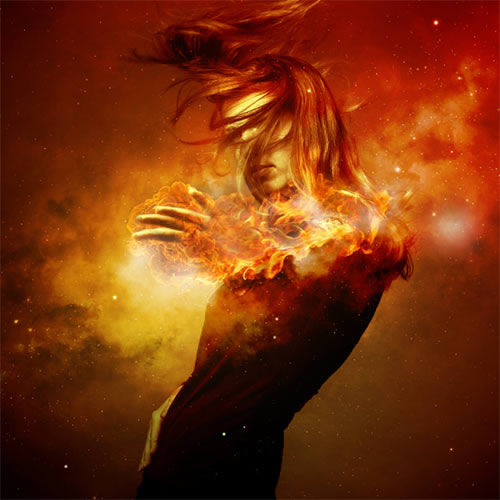
Drag the blue nebula stock pic to the canvas.
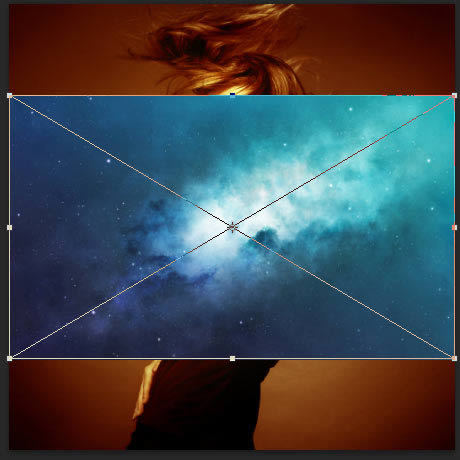
Hold Shift key to keep aspect ratio and increase the layer size until it looks like this, with the whitest area being over the hand. Press Enter and name this layer "nebula".
Press Command/Ctrl + U for Hue/Saturation and drasg the Hue bar almost completely to the left to get warmer tones.
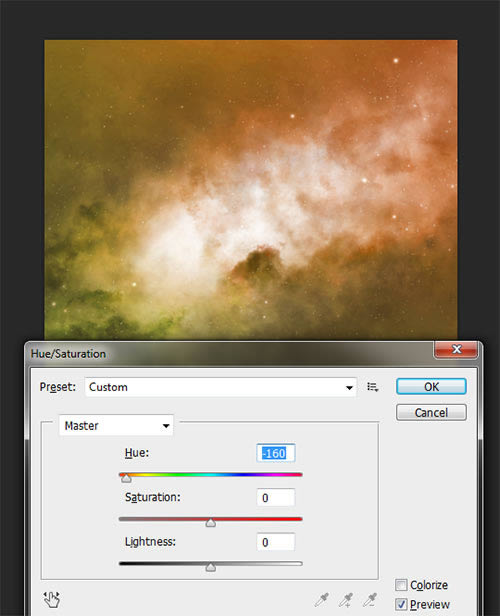
Set the Blending Mode to Hard Light.
Step 10
Add a New Layer Mask to this layer and pick the Brush Tool (B) again (black color selected) to delete the maximun whites of the nebula over the hand:
Delete completely the face area.
Brush on the maximum whites over the arm to decrease their opacity.
And also over the hair area.
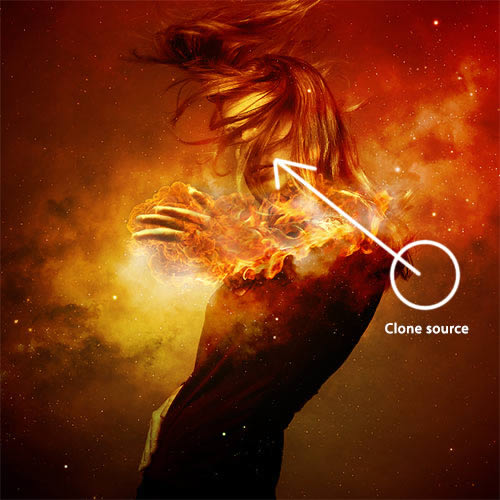
Now use the Clone Stamp Tool (S) (100% Opacity and Flow, 0% Hardness) on the layer (not on the mask) and clone the face and hair area from the clone source shown below. You can pick a source by Alt – clicking a certain area.
Switch to the Brush Tool (B) on the Layer Mask, and delete the lighter tones on the bottom area of the arm, so we can see the blacks again.

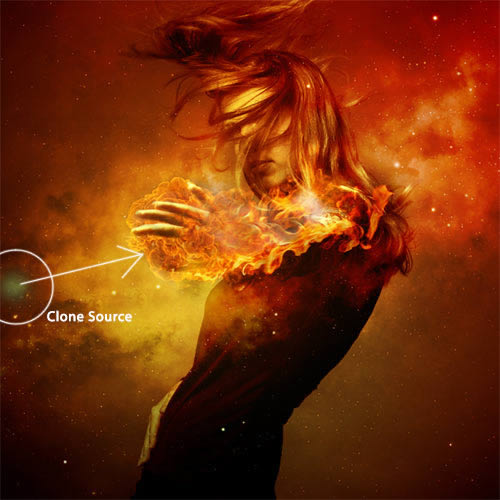
Take as a clone source the left area of the layer to clone over the still maximum whites near the hand.
Go to Edit > Transform > Warp. Drag to the center the upper and bottom areas of the mesh to adapt the entire layer to the arm’s shape.

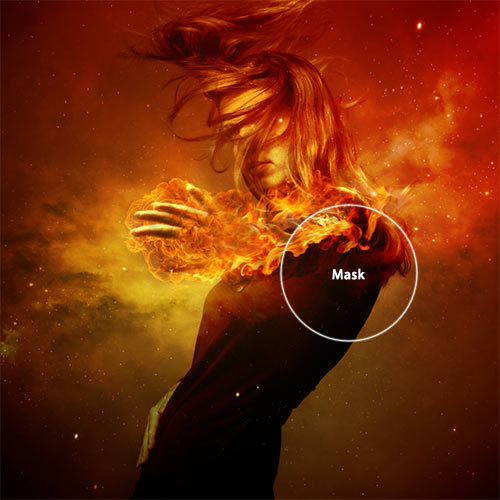
Finally, mask the armpit and the chest areas with the Brush Tool (B) and the black color picked.
Subscribe to:
Post Comments (Atom)
0 komentar:
Post a Comment