Wednesday, May 23, 2012

By : Loredana Papp on Aug 24th 2009 with 101 comments
Video Tutorial
Our video editor Gavin Steele has created this video tutorial to compliment this text + image tutorial.
Organizing the Assets
As I’ve said before the most important thing in a landscape photo manipulation is the right stock, so pick it carefully. I’ve chosen the following stock:
- Waterfall 1: by jesuino
- Waterfall 2: by brbankston
- Waterfall 3: by dracoart-stock
- Cliff 1: by polinife-stock
- Hills: by cat-in-the-stock
- Sky 1: by resurgere
- Cliff 2: by bloodydawn
- Sky 2: by resurgere
- Castle: by hislightrq
- Cliff 3: by gracies-stock
- Statue: by almudena-stock
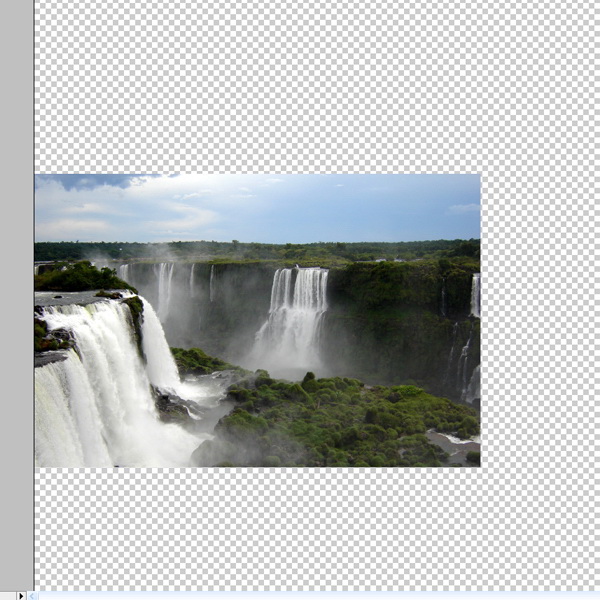
Step 1
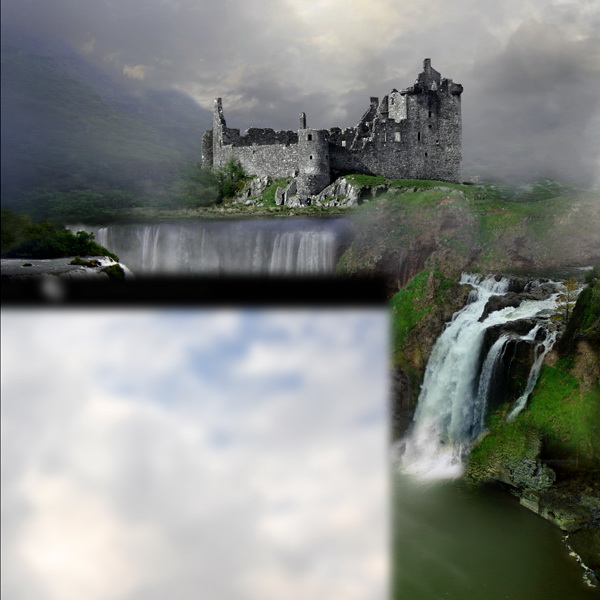
Open the Waterfall 1 picture and place it as shown below.
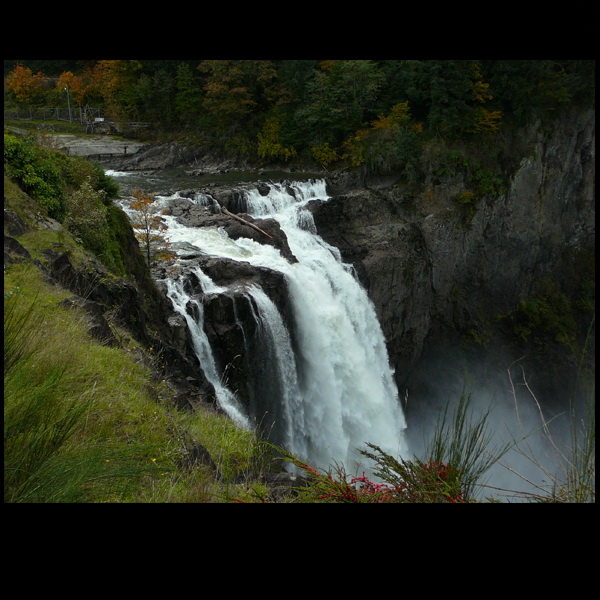
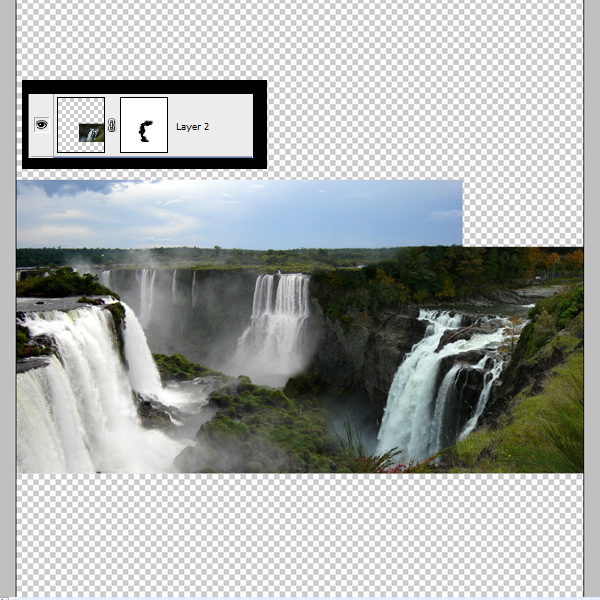
Step 2
Open the Waterfall 2 picture and go to Edit > Transform > Flip Horizontal. Crete a layer mask, then use a basic brush with smooth edges (black color) to erase some of the parts you don’t need.
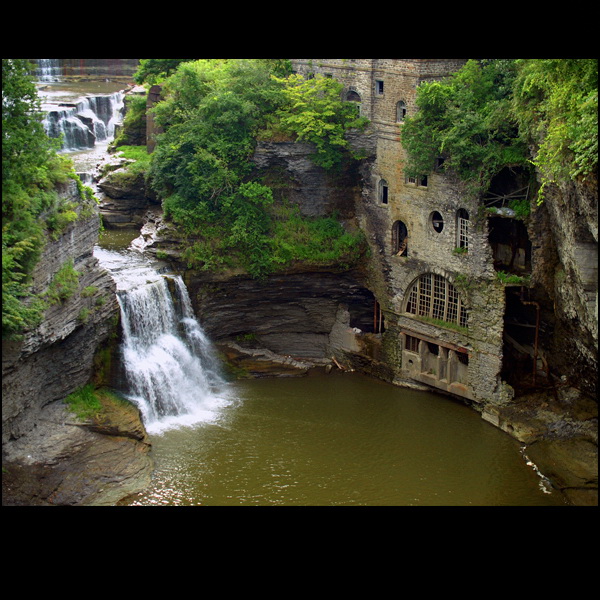
Step 3
Open the Waterfall 3 picture. Place it at the bottom of the picture, then create a mask and erase some of the edges with a brush just like you did in the previous step.
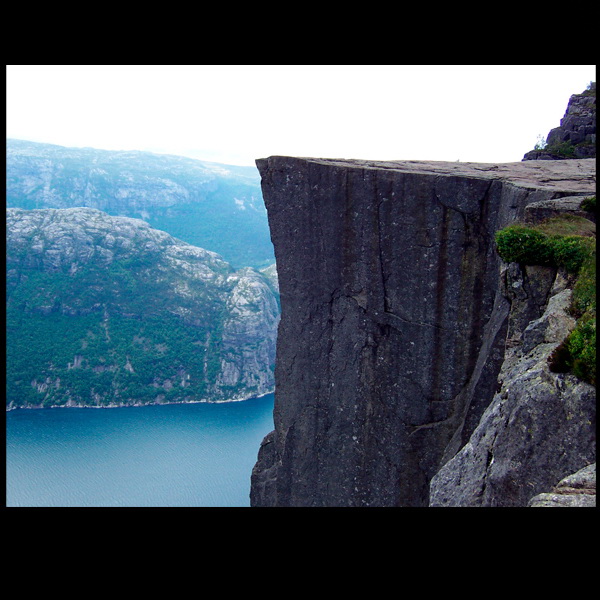
Step 4
Open the cliff image. Cut it out with the Pen Tool and place it as shown so it will cover the left part of the waterfall that didn’t look good.
Step 5
Go to the first waterfall layer. Pick the Lasso Tool and select the waterfall’s bottom part like in the picture below. Then press Command + J. Go to Edit > Transform > Flip Horizontal and place it like you see in the image below. Now create a mask and with a basic brush and erase some of the edges.
Step 6
Open the Hills image. Press Command + T and transform it so it will fit the image. Create a mask and erase some of the edges.
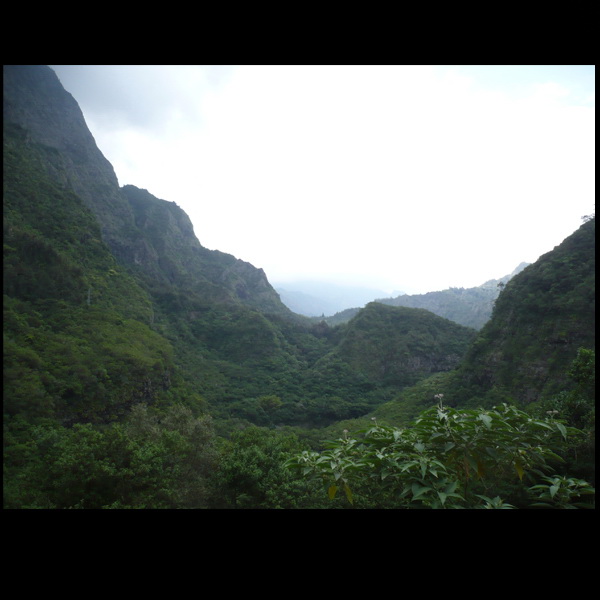
Step 7
Drag the Sky 1 picture into the working document. Create a mask and erase the bottom edges so it will fit next to the hills.
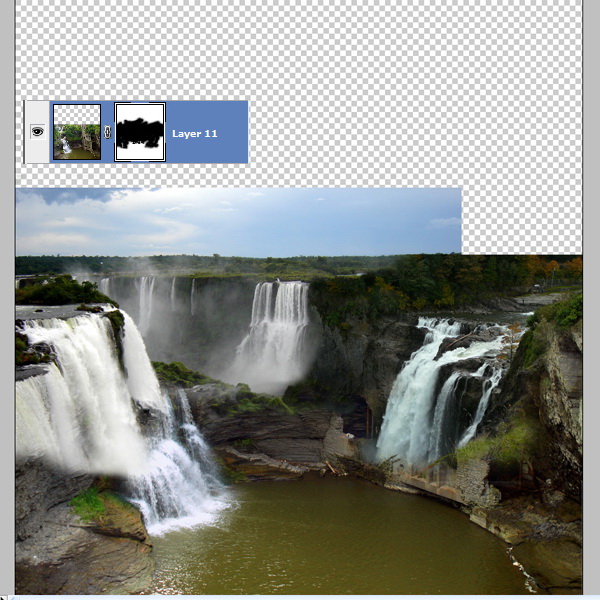
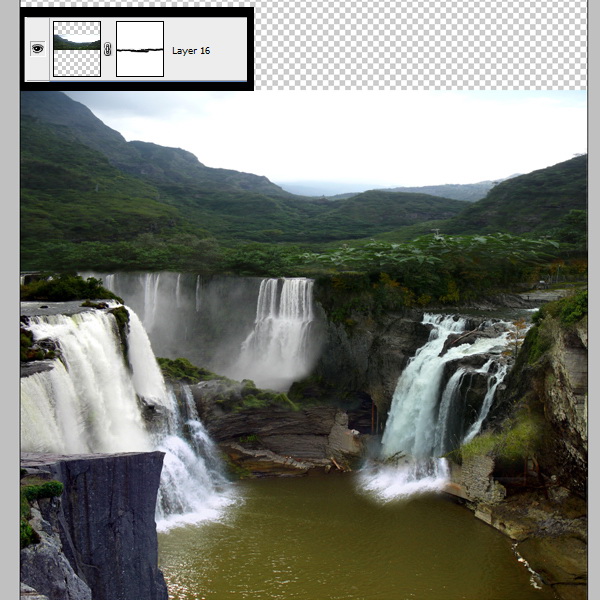
Step 8
Go to the second waterfall layer and with the Lasso Tool select a part of the water, then place it as shown below so the first waterfall will look bigger. Create a mask and erase some of the parts. Set the layer’s Opacity to about 75%.
Step 9
Go to Adjustment Layers > Gradient Map and apply it as shown.
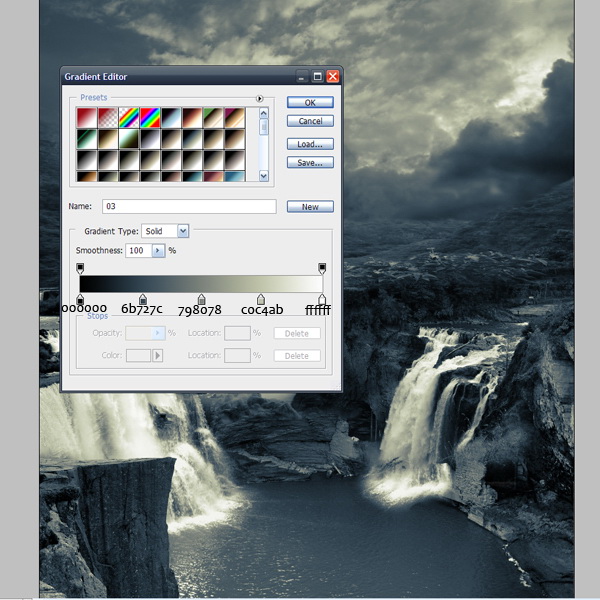
Step 10
On the Gradient Map’s mask erase everything but the water.
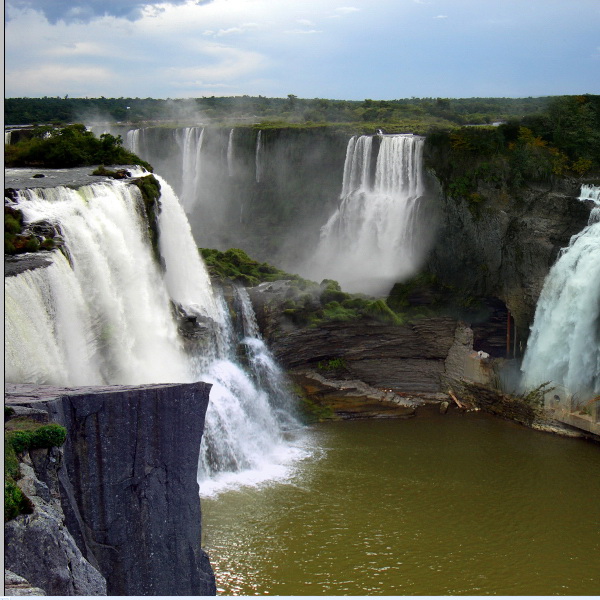
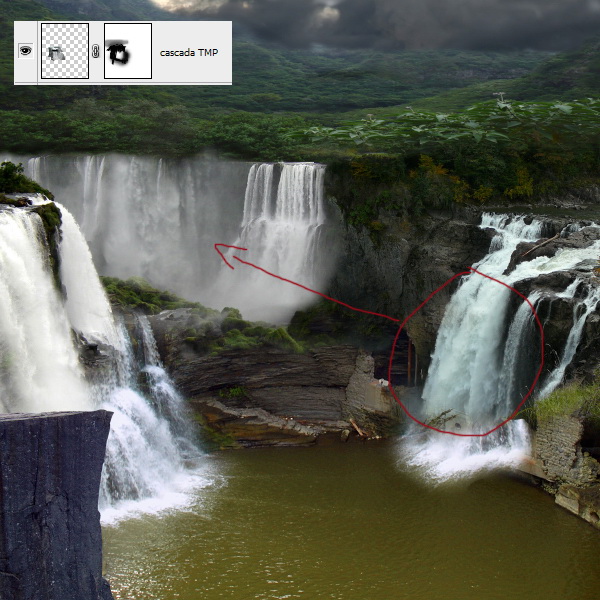
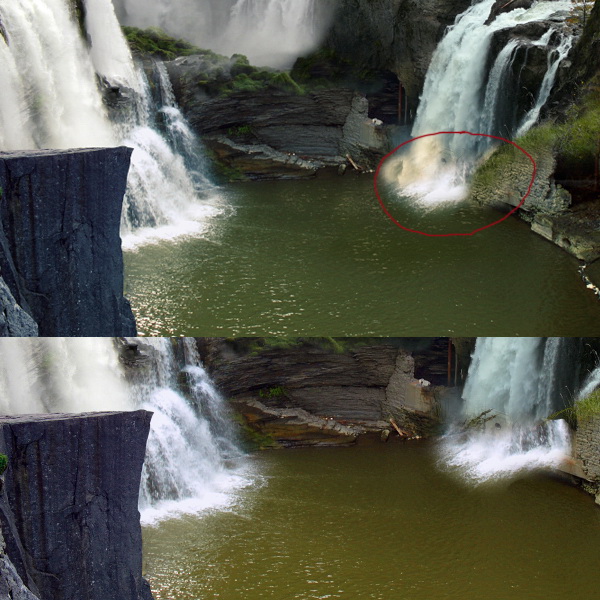
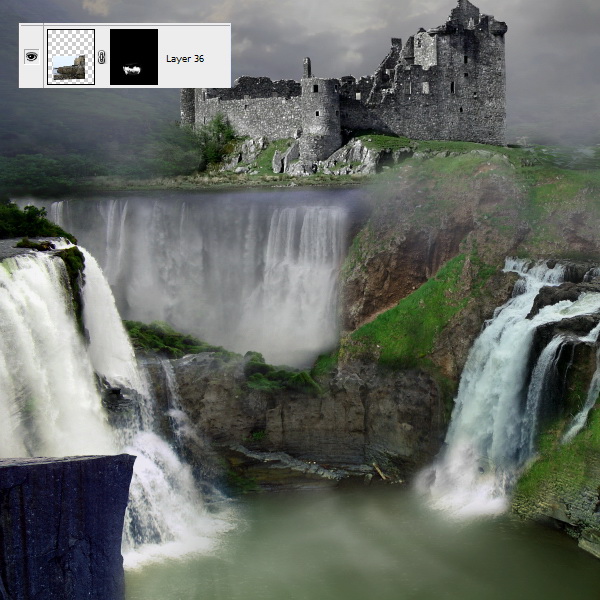
Step 11
Create a new layer. Pick the Clone Stamp Tool and make some minor fixes to the right waterfall so it will blend in. Pick some grass to cover the waterfall as well.
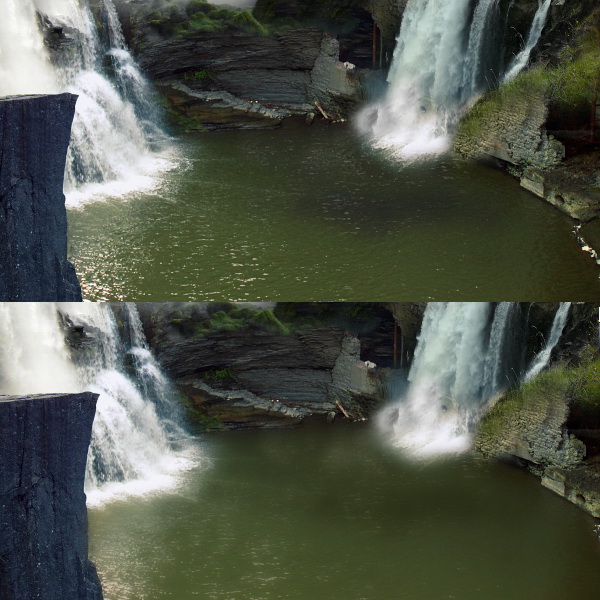
Step 12
Create a new layer. Select the Blur Tool and sample all layers. Use it on the water.
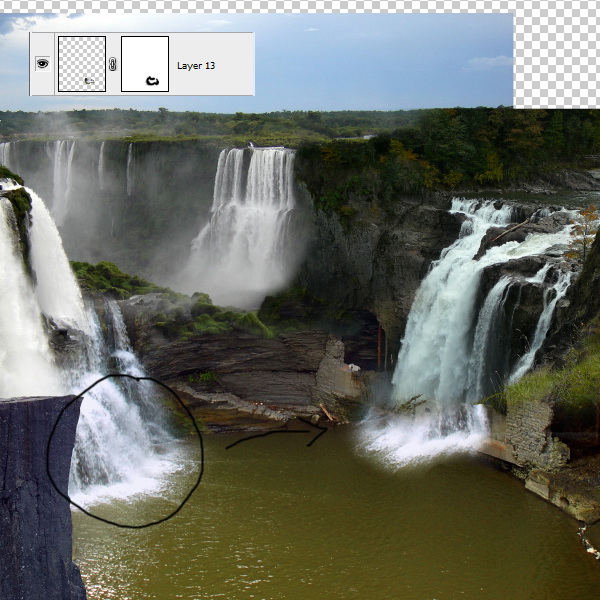
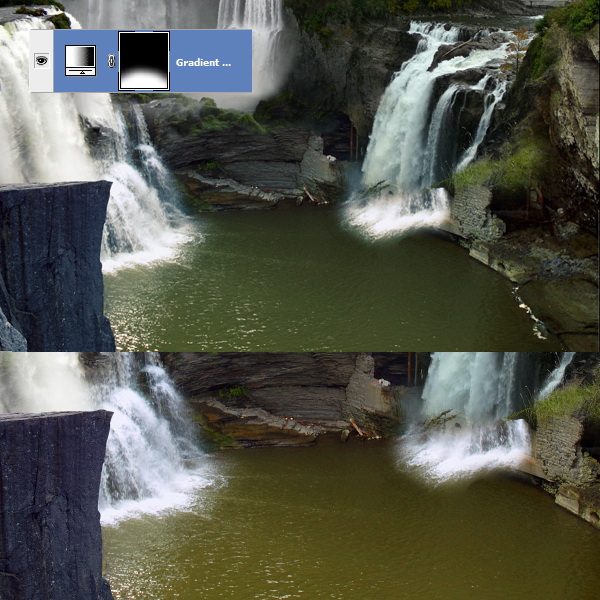
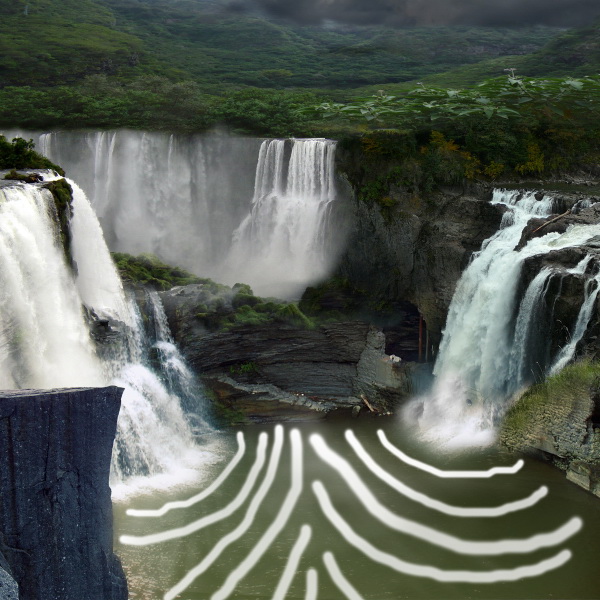
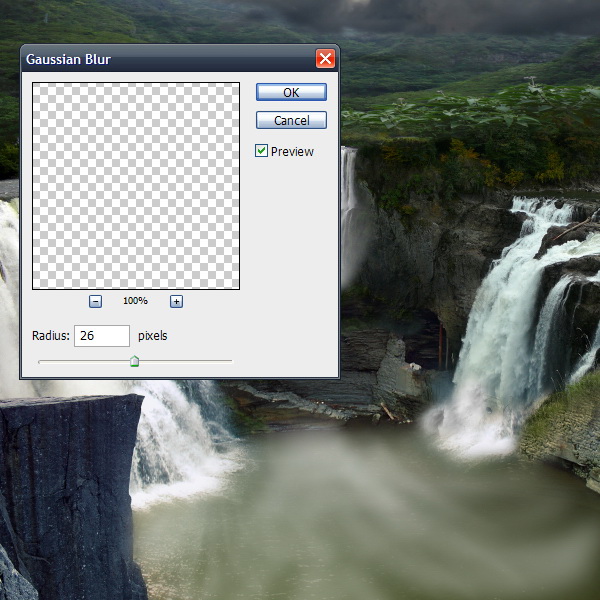
Step 13
Create a new layer. Pick the basic brush with smooth edges (white color) and draw some lines on the water. Start with some thin lines and then draw them thicker and thicker. Next go to Filters > Blur > Gaussian Blur, then set the radius to about 25 pixels.
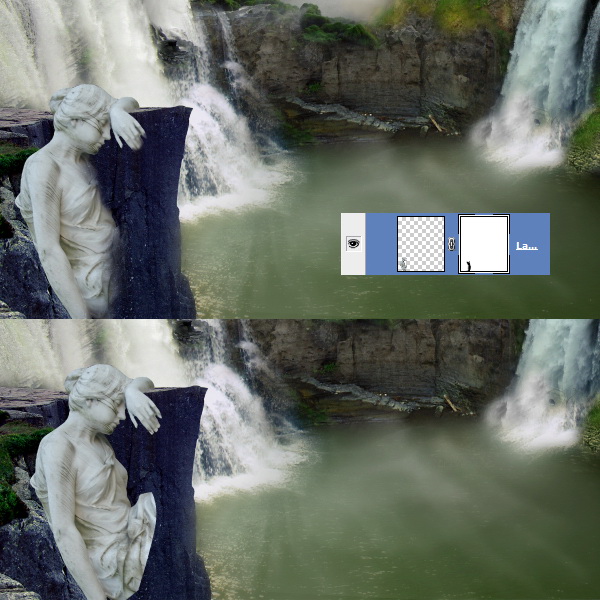
Step 14
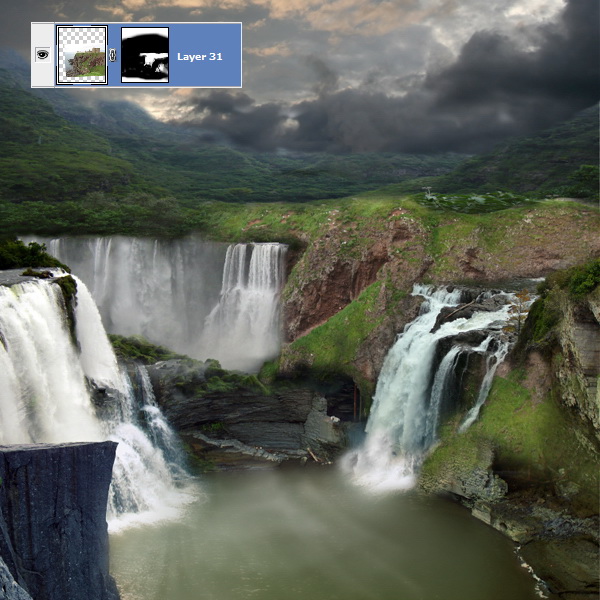
Drag in the Cliff 1 picture. Set the Opacity to about 50% so you will see where it fits. When you’ve placed it in the right place you can increase the Opacity back to 100%. Create a mask and leave just some parts that fit with the rest of the landscape.

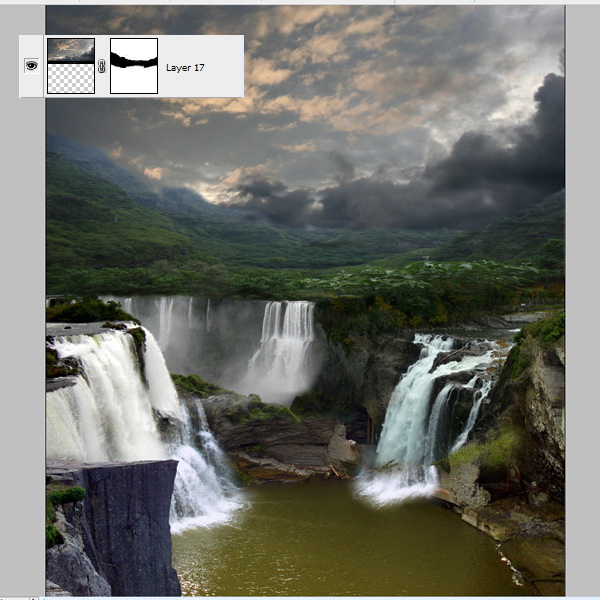
Step 15
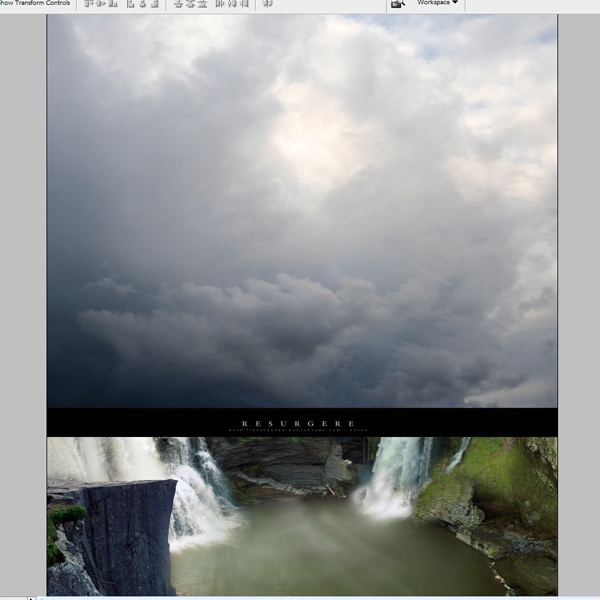
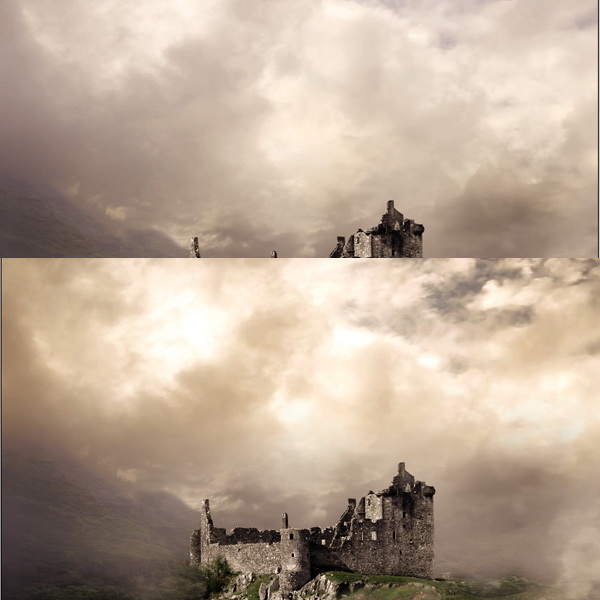
Open the Sky 2 image and place it at the top of the Photoshop working document. Create a mask and erase some parts of the clouds so it will look foggy. We will use the same clouds picture in another step later in the tutorial as well.
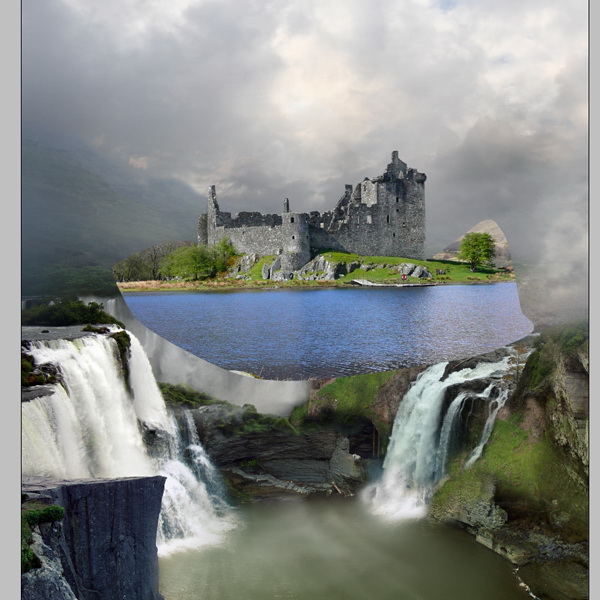
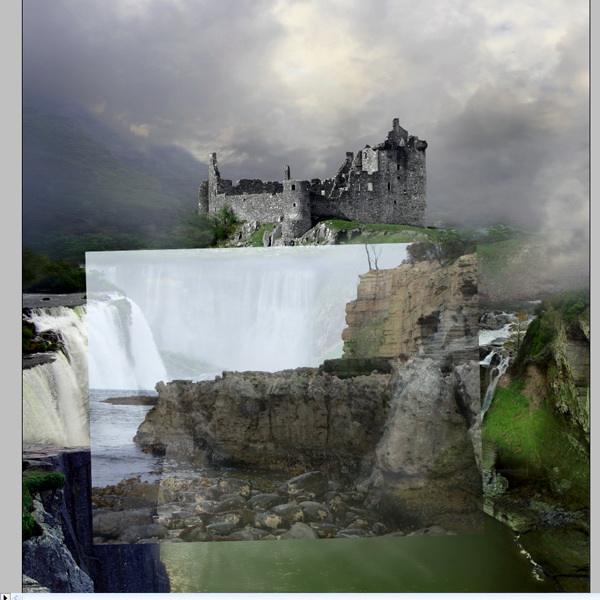
Step 16
Cut out the Castle and place it in the middle of the composition. You don’t need to cut it out perfectly, just create a mask and cover the parts you don’t like. Don’t erase them with the Eraser Tool, as you never know when you need to get something back.

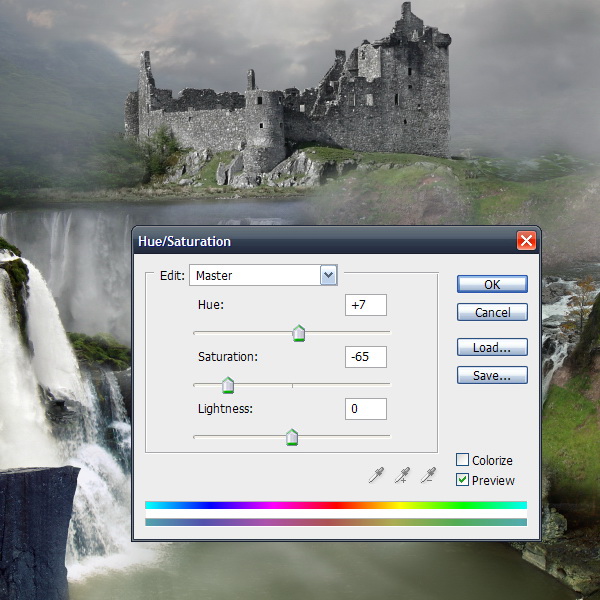
Step 17
Go to Adjustment Layers > Hue/Saturation. Set it to: Hue of +7, Saturation of -65, and Lightness of 0. Clip the layer to the “castle” layer by holding the Alt key and pressing the right mouse button between the two layers.
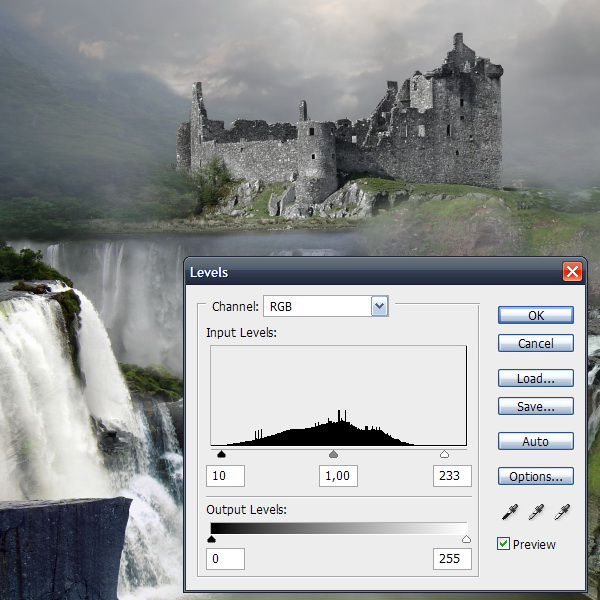
Step 18
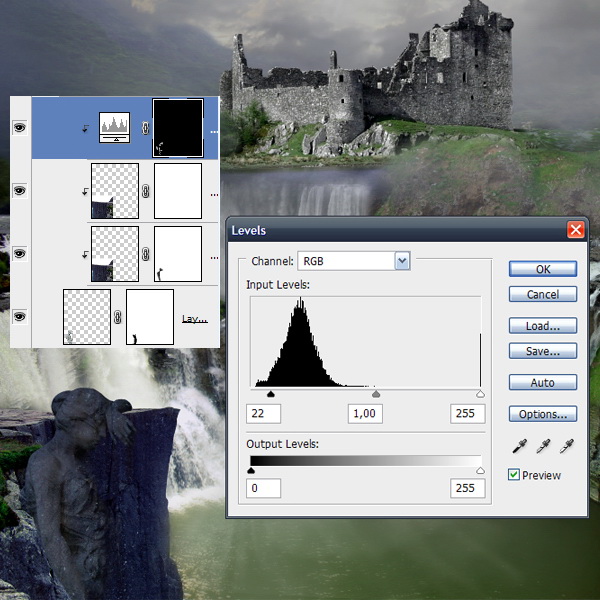
Go to the Adjustment Layers > Levels. Make the settings as in the image below. Create a clipping mask as explained in Step 17.
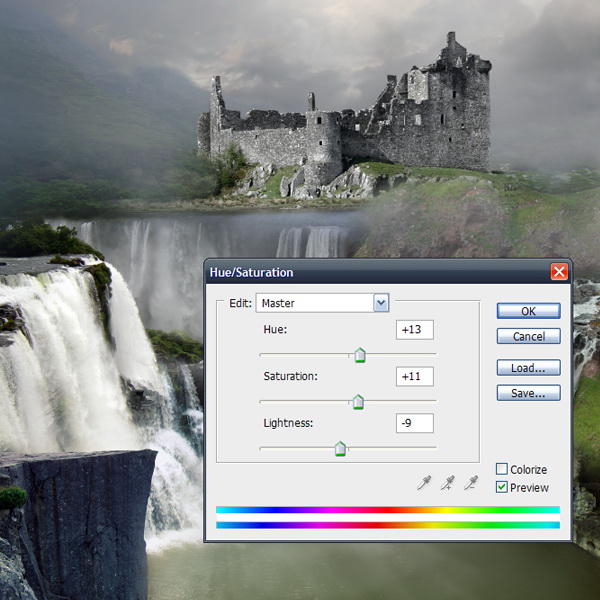
Step 19
Go to Adjustment Layers > Hue/Saturation. Set the Hue to +13, Saturation top +11, and Lightness to -9.
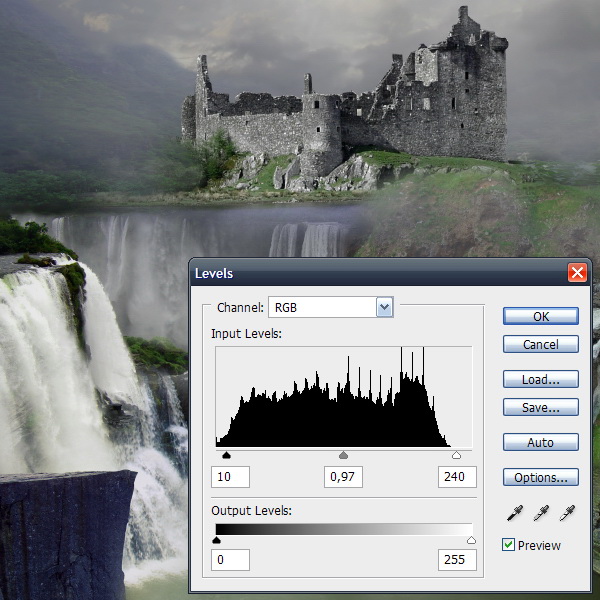
Step 20
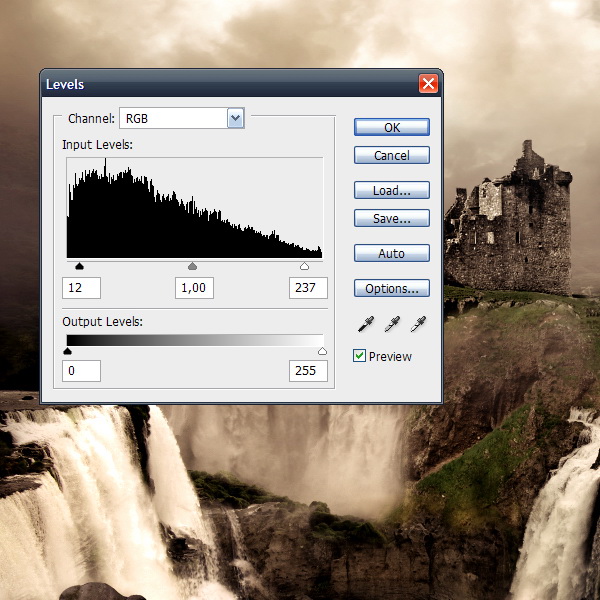
Go to Adjustment Layers > Levels. Make the settings as shown below.
Step 21
Open the Cliff 3 picture and place it in the working document. I did this because I wasn’t satisfied with how those rocks looked, but this isn’t a mandatory step. Create a mask and erase the parts that don’t fit.
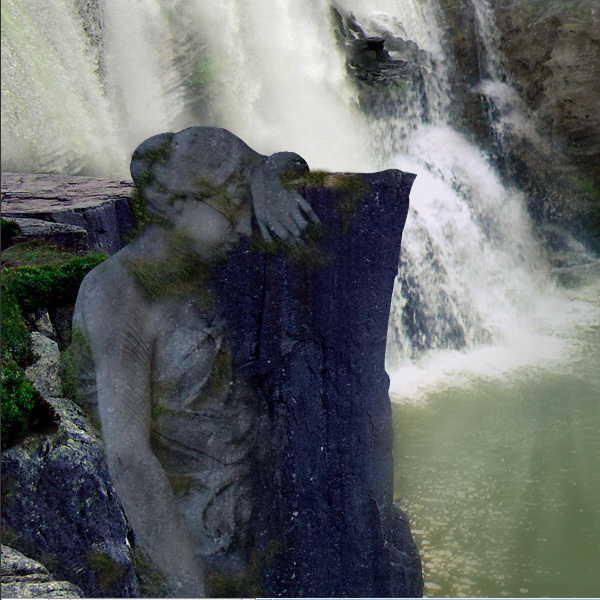
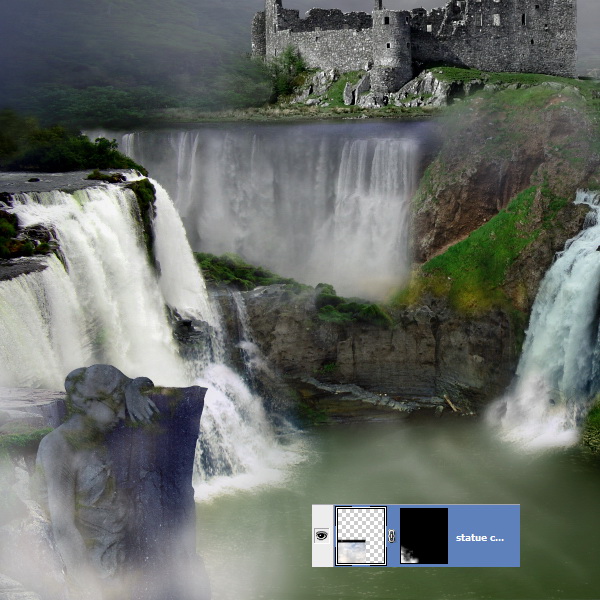
Step 22
Cut out the Statue and place it on the cliff. Create a mask and hide the right part so it will blend in.
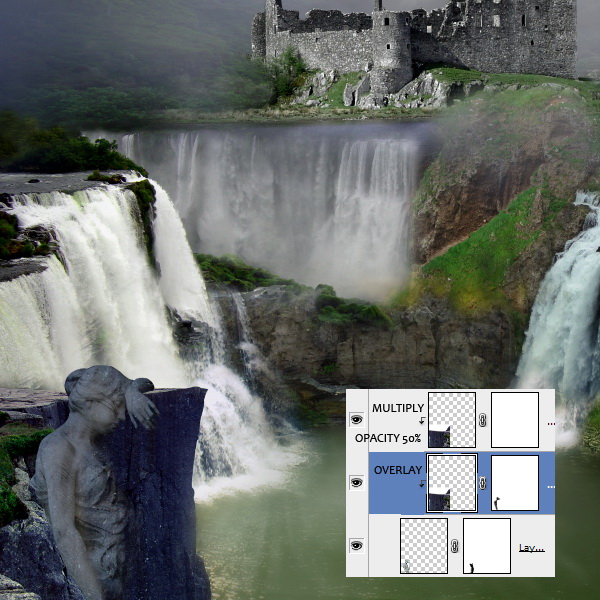
Step 23
Go to the “cliffs” layer and duplicate it twice by pressing Command + J two times, then clip them to the “statues” layer. Set the blending mode of the first layer to Overlay and the second one to Multiply (Opacity set to 50%).
Step 24
Go to Adjustment Layers > Levels and make the settings as shown below. Clip this layer to the “statue” layer.
Step 25
Create a new layer. Pick the Clone Stamp Tool (select all layers) and apply some grass from the cliffs to the darker parts of the statue.
Step 26
Open the white clouds again, decrease it’s size, and place it on the statue. Create a mask and cover the parts you don’t need. Set the Opacity to about 90%.
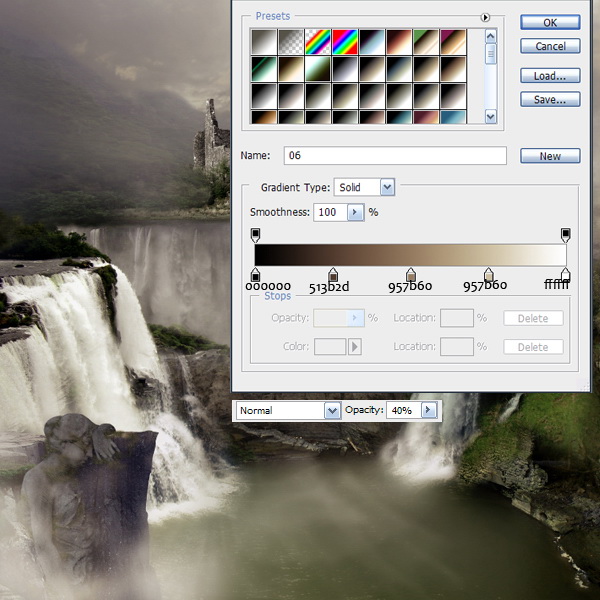
Step 27
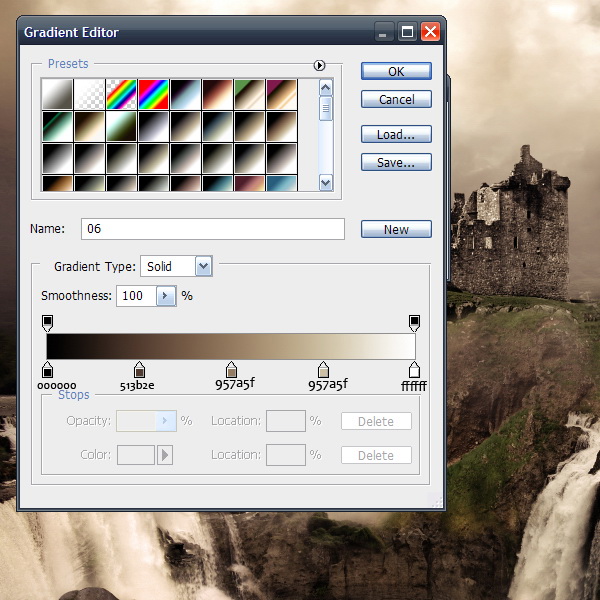
Go to Adjustment Layers > Gradient Map and use the settings shown below.
Step 28
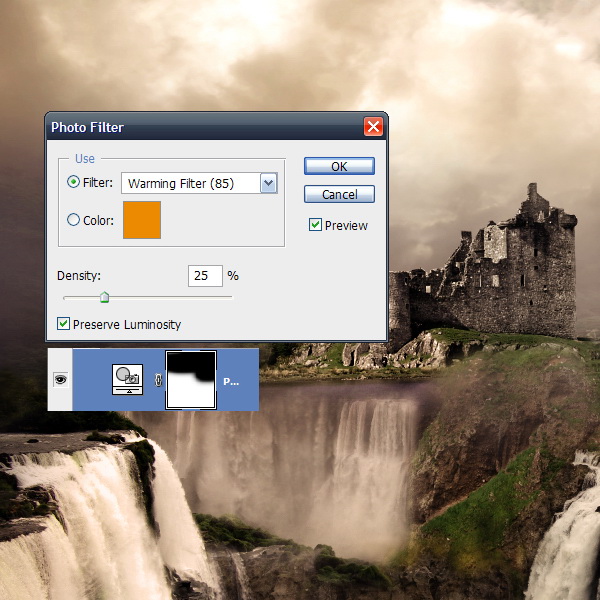
Go to the Adjustment Layers > Photo Filter and use the settings shown below.

Step 29
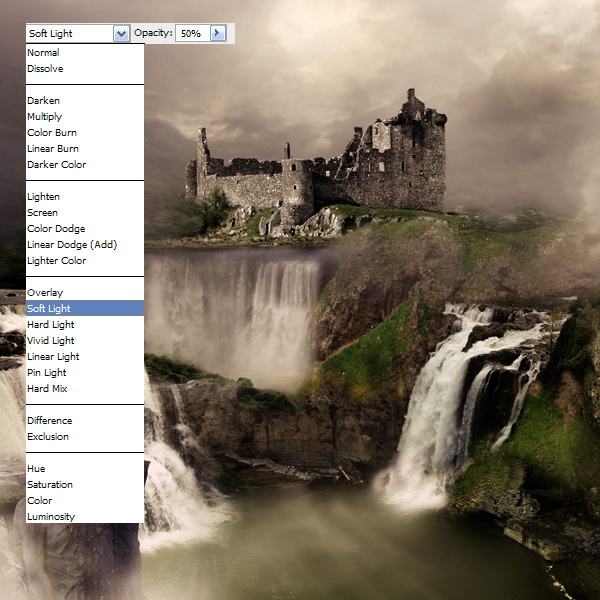
Merge all the layers by pressing Command + Alt + Shift + E. Go to Filters > Gaussian Blur (Radius 5,0).

Step 30
Set the blending mode to Soft Light and the Opacity to 50 %.
Step 31
Select a custom made brush with a cloud. I made this brush myself but you can find many cloud brushes on the internet. Apply this brush at the bottom of the picture so it will look a bit foggy. Set the opacity to about 20-30%.

Step 32
Open the white clouds stock picture again and erase everything but the top part of the clouds.
Step 33
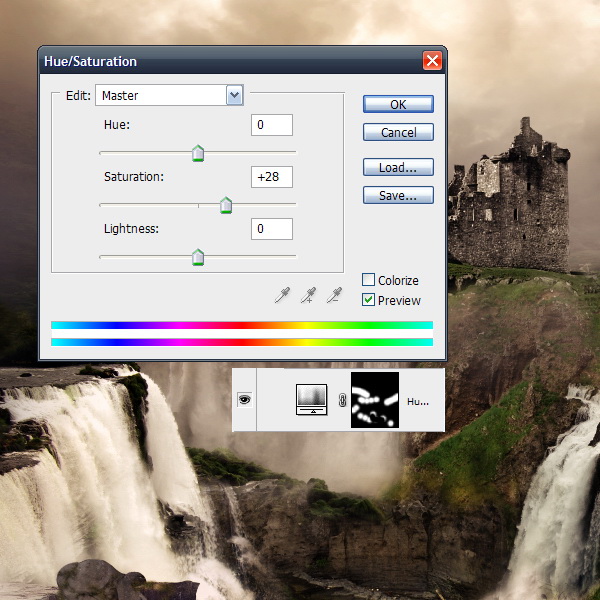
Go to the Adjustment Layers > Hue/Saturation, and use the settings: Hue at 0, Saturation at +28, and Lightness at 0. Erase some of the parts on the mask as shown.
Step 34
Go to Adjustment Layers > Photo Filter. Erase the top part of the mask as shown.
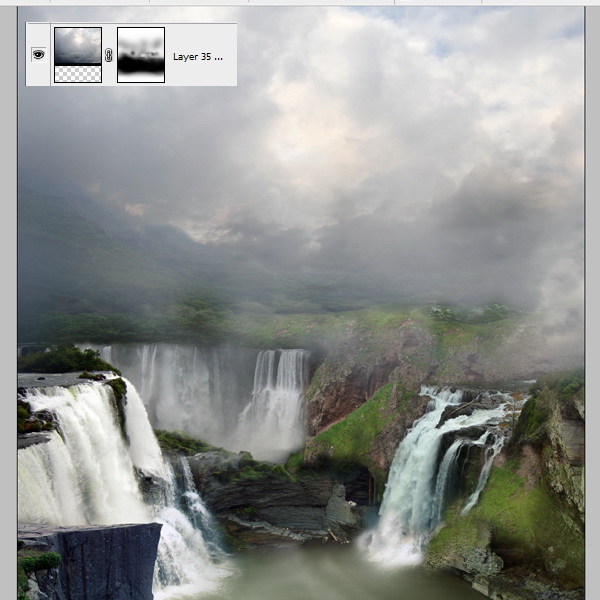
Step 35
Go to Adjustment Layers > Gradient Map and apply it like you see in the image below.
Step 36
Go to Adjustment Layers > Levels, and apply the settings shown below.
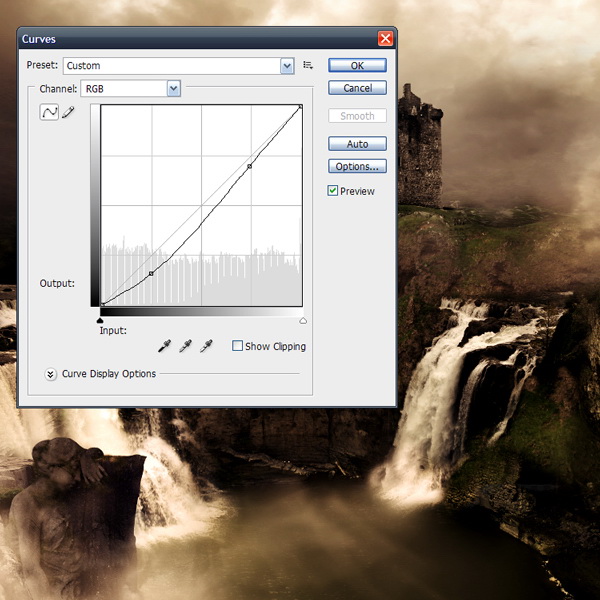
Step 37
Finally for the last step. Go to the Adjustment Layers > Curves, and apply an Output of 178 and Input of 188.
Conclusion
Sit back and take a look at your photo manipulation, as we’re finished!
Subscribe to:
Post Comments (Atom)
0 komentar:
Post a Comment